

 EN
EN  English
 русский
 Español
 عربى
عربى

News
 Home / News / Industry news / Excavator Swing Bearing Seal Replacement – Step-by-Step Guide for Operators
 Excavator Swing Bearing Seal Replacement – Step-by-Step Guide for Operators
 2026.09.16
 Industry news
As a manufacturer specializing in slewing bearings and transmission solutions, we at Manchen know firsthand how critical a properly sealed swing bearing is to your excavator’s performance. Grease leaking from the turntable isn’t just a mess—it’s a warning that dirt and moisture are already working their way into the raceways, accelerating wear on both the seal and the bearing itself. Replacing the seal promptly can save you the cost of a full bearing replacement and keep your machine working reliably on the job site.
Content
Signs That Your Swing Bearing Seal Needs Attention
Before you dive into the replacement process, it’s important to confirm that the seal is the culprit. Common indicators include:
- Grease streaks or puddles around the turntable joint, especially after operation.
- Visible damage to the old seal lip, such as cracks, hardening, or missing sections.
- Corrosion or rust stains on the bearing mounting area, which suggest moisture entry.
- Unusual noise during rotation, often a grinding or creaking sound that points to contamination inside the raceway.
If you notice any of these symptoms, plan the replacement as soon as possible. Delaying the job only allows contaminants to damage the bearing races and rolling elements, leading to costly downtime.
Preparation: Tools, Safety, and Choosing the Right Parts
Essential Tools
- Safety glasses, gloves, and steel‑toed boots
- Jack stands or cribbing to support the upper structure
- Hydraulic jack or crane for lifting
- Socket set, torque wrench, and pry bars
- Wire brush, rags, and solvent for cleaning
- New swing bearing seal (ensure correct size and profile)
- High‑quality grease and a grease gun
- Thread‑locking compound for bolts if specified by the manufacturer
Selecting the Right Seal and Bearing Assembly
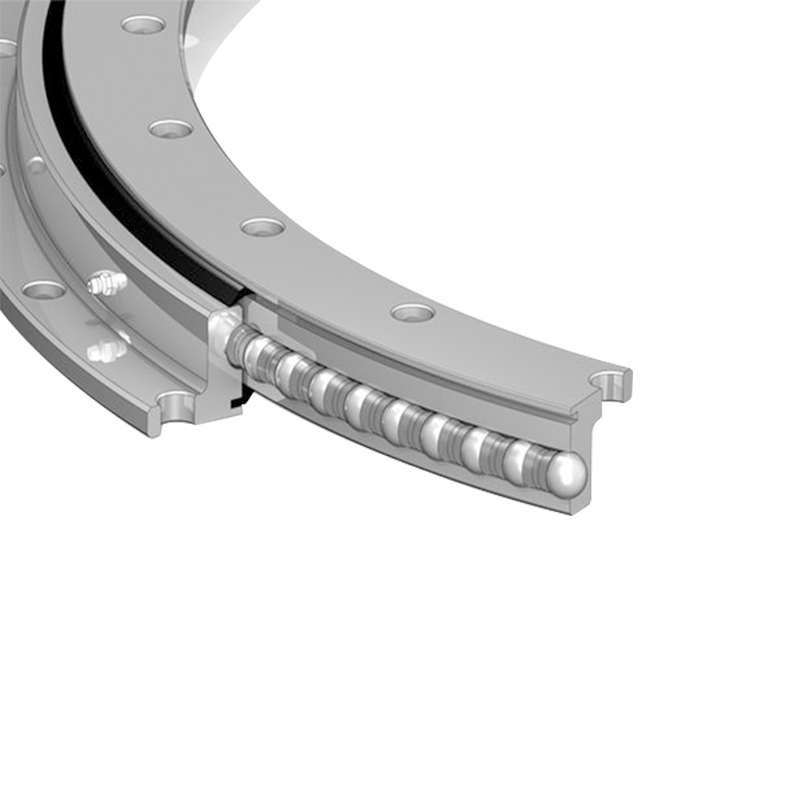
The seal you choose must match the exact groove dimensions and material requirements of your excavator model. Many aftermarket seals are generic, but we recommend sourcing a seal that is designed for your specific bearing type. For smaller to mid‑size excavators, a 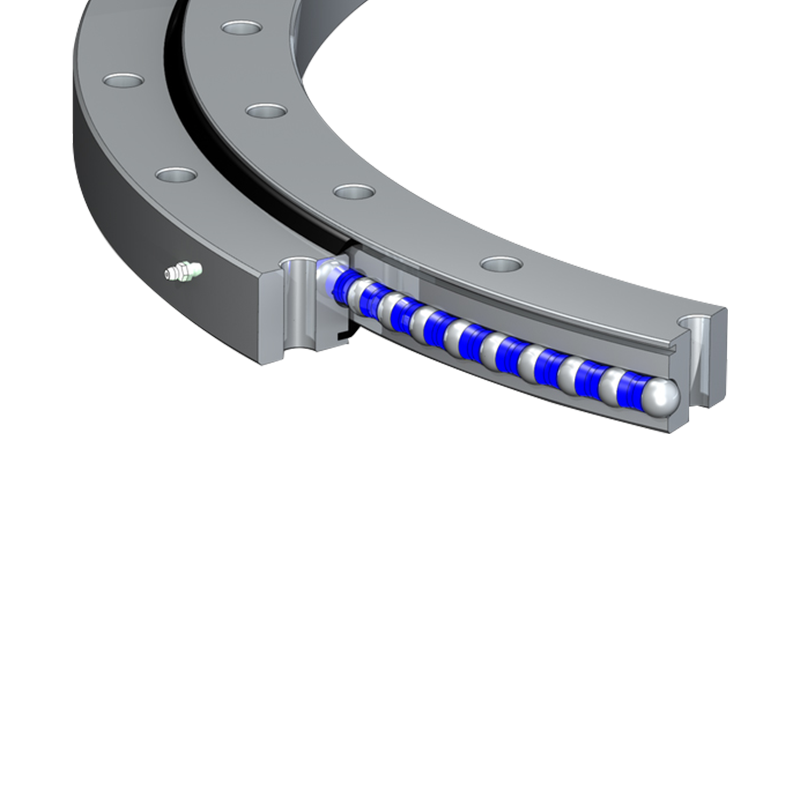 Single-Row Ball Slewing Bearing for ExcavatorsIdeal for smaller to mid-size excavators, this bearing offers smooth rotation, high load capacity, and low friction. Its sealing groove is straightforward, making replacement seals widely available.View Product → is commonly used; its sealing groove is straightforward, and replacement seals are widely available. For larger, heavy‑duty machines that handle high moment loads, a
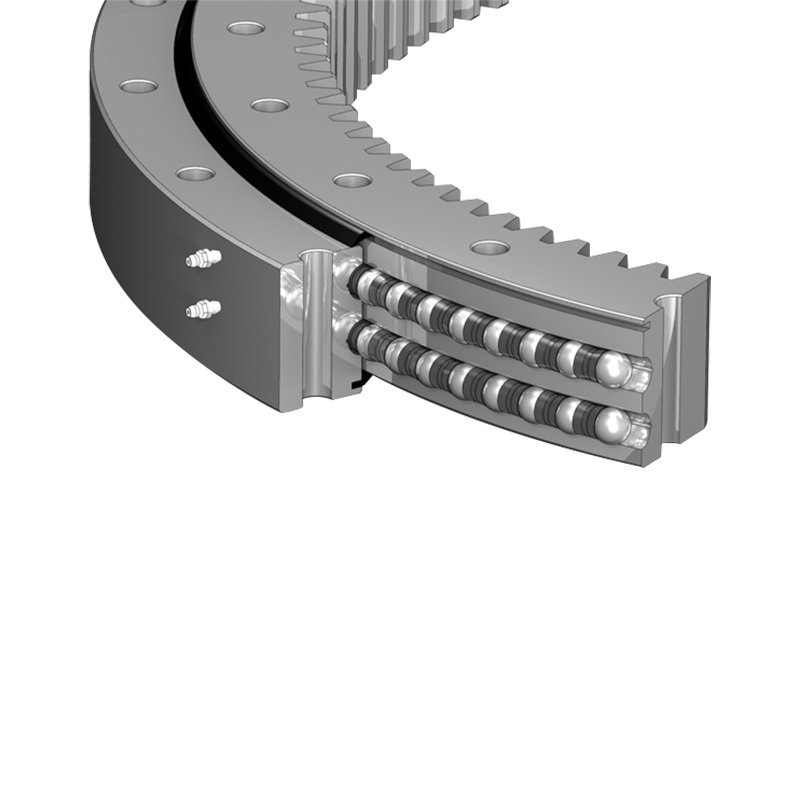
 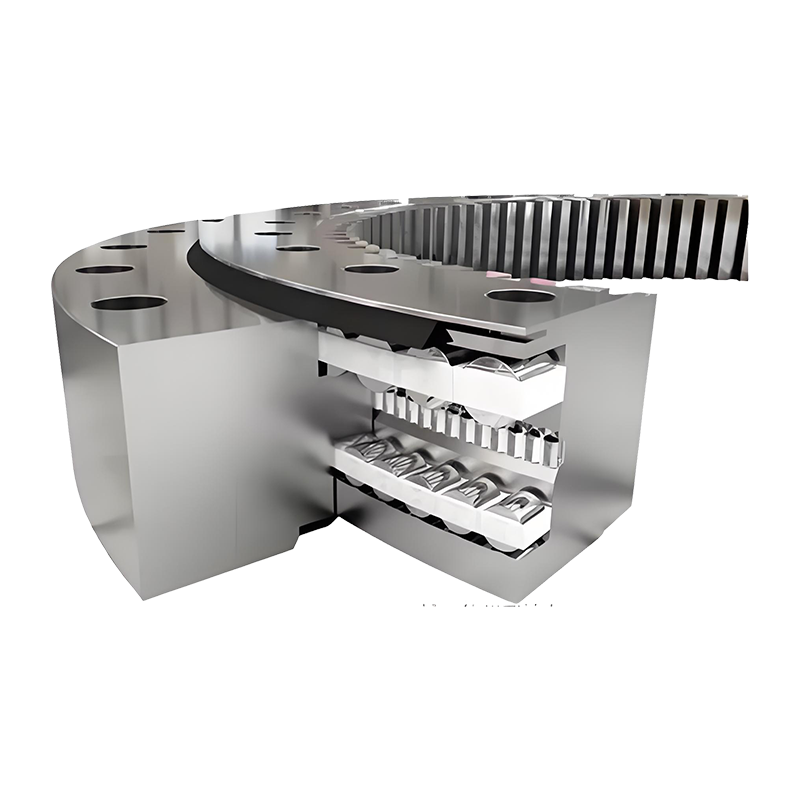 Three-Row Roller Slewing Bearing (13 Series) for Heavy-Duty ExcavatorsDesigned for large excavators handling high moment loads, the 13 Series provides superior durability. Made of high-strength alloy steel, it ensures safe, stable operation and easy maintenance.View Product → offers superior durability and a different seal profile that requires careful matching. Always double‑check the seal’s inner diameter, outer diameter, and lip geometry against the original part before ordering.
Step‑by‑Step Seal Replacement Procedure
1. Safety Setup and Machine Positioning
Park the excavator on level ground, turn off the engine, and chock both tracks. Release any residual hydraulic pressure in the swing circuit. Use jack stands or solid cribbing to support the upper structure once the turntable is separated. Never rely solely on the hydraulic system to hold the machine.
2. Separate the Upper Structure from the Undercarriage
Remove all bolts connecting the swing bearing to the undercarriage. Depending on your machine, you may need to disconnect hydraulic hoses, electrical wires, and the swing gearbox. Carefully lift the upper structure with a crane or hydraulic jack, allowing access to the bearing and seal ring.
3. Remove the Old Seal
Locate the seal retainer or snap ring that holds the seal in place. Pry it out gently to avoid damaging the retention groove. Use a seal puller or a flat‑head screwdriver to work the old seal out of its notch. Take your time—forcing it can score the seal seat, causing leaks with the new seal.
4. Clean and Inspect the Seal Groove and Bearing
Thoroughly clean the seal groove with solvent and a wire brush, removing all old grease, rust, and debris. Inspect the bearing raceways for spalling, pitting, or excessive wear. If the bearing races are damaged, replacing only the seal is a temporary fix. In such cases, you should consider a full bearing replacement. Our 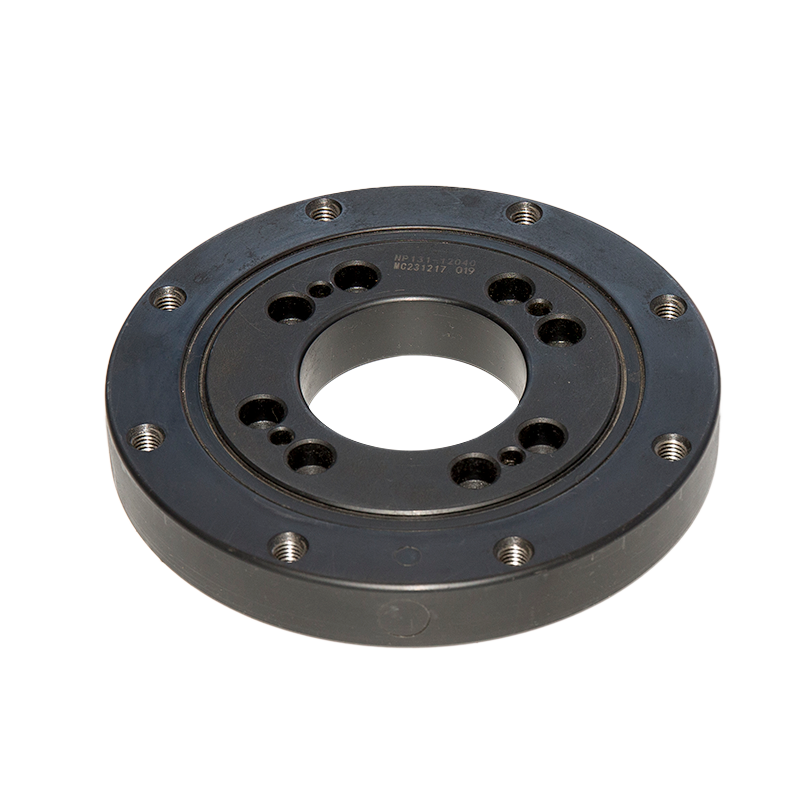 Single Row Cross-Roller Slewing Bearing with High RigidityThis bearing offers excellent rigidity and sealing compatibility, suitable for excavators needing full replacement. Crossed rollers distribute load evenly, reduce friction, and perform reliably in harsh conditions.View Product → offers excellent rigidity and sealing compatibility for many excavator models, and it can be paired with a properly sized replacement seal.
5. Install the New Seal
Lightly lubricate the new seal lip with fresh grease. Position the seal squarely over the groove and press it in using a seal installation tool or a plastic drift. Work around the circumference evenly to avoid distorting the seal lip. Ensure the seal is fully seated below the retainer groove, then install the snap ring or retainer. Confirm that the retainer is flush and secure.
6. Reassembly and Torque
Lower the upper structure back onto the undercarriage. Replace all mounting bolts and tighten them to the manufacturer’s specified torque using a calibrated wrench. A common mistake is over‑ or under‑torquing, which can distort the seal seat or allow movement. Apply thread‑locking compound if called for in your machine’s manual.
7. Final Testing
Turn the engine on and slowly rotate the excavator through a full 360° swing in both directions. Listen for abnormal noise and check for immediate grease leakage around the new seal. After 10–15 minutes of operation, stop and inspect the seal area again. If no leaks appear, your replacement is successful.
Common Pitfalls to Avoid
| Pitfall | Consequence | Prevention |
|---|---|---|
| Using an incorrect seal profile | Leaks immediately or within days | Match seal dimensions and lip type to original part |
| Failing to clean the groove thoroughly | Seal sits unevenly, causing leaks | Use solvent and brush; inspect with light |
| Over‑torquing mounting bolts | Distorted bearing race or seal seat | Follow torque specs exactly |
| Skipping final test swing | Undiscovered leak leads to damage | Always test after reassembly |
Extending the Life of Your New Seal
After a successful replacement, proper maintenance is key. Grease the swing bearing at the intervals recommended by the manufacturer—typically every 200–500 operating hours, depending on conditions. Inspect the seal area during daily walk‑arounds. If you work in dusty or wet environments, consider using a seal guard or a flap to reduce debris accumulation.
For more detailed advice on lubrication and seal selection, we have put together a guide on selecting the right lubrication and sealing for single row cross roller slewing bearings, which applies to many excavator applications. And if you are ever in doubt about the condition of your bearing itself, contact our technical team for a consultation—we can help you identify the right replacement bearing and seal combination for your machine.



Jiangsu Manchen Transmission Technology Co., Ltd. excels in creating custom, reliable, and precise slewing bearings for diverse industries, continuously innovating to meet the highest standards and seeking collaborative opportunities. Reliable and steady slewing bearings supplier in China.
Product links
Contact Us
-
Address:No. 8, Nanqiu Road, Huangtu Town, Jiangyin City,China
-
Tel:+86-13646122221
-
Phone:+86-18796936198
-
WhatsApp:+86 18796936198
-
E-mail:hedy@slewingbearingcn.com
-
E-mail:ma@slewingbearingcn.com
-
E-mail:vena@slewingbearingcn.com
